How to Cold-Stratify Milkweed and Other Native Seeds
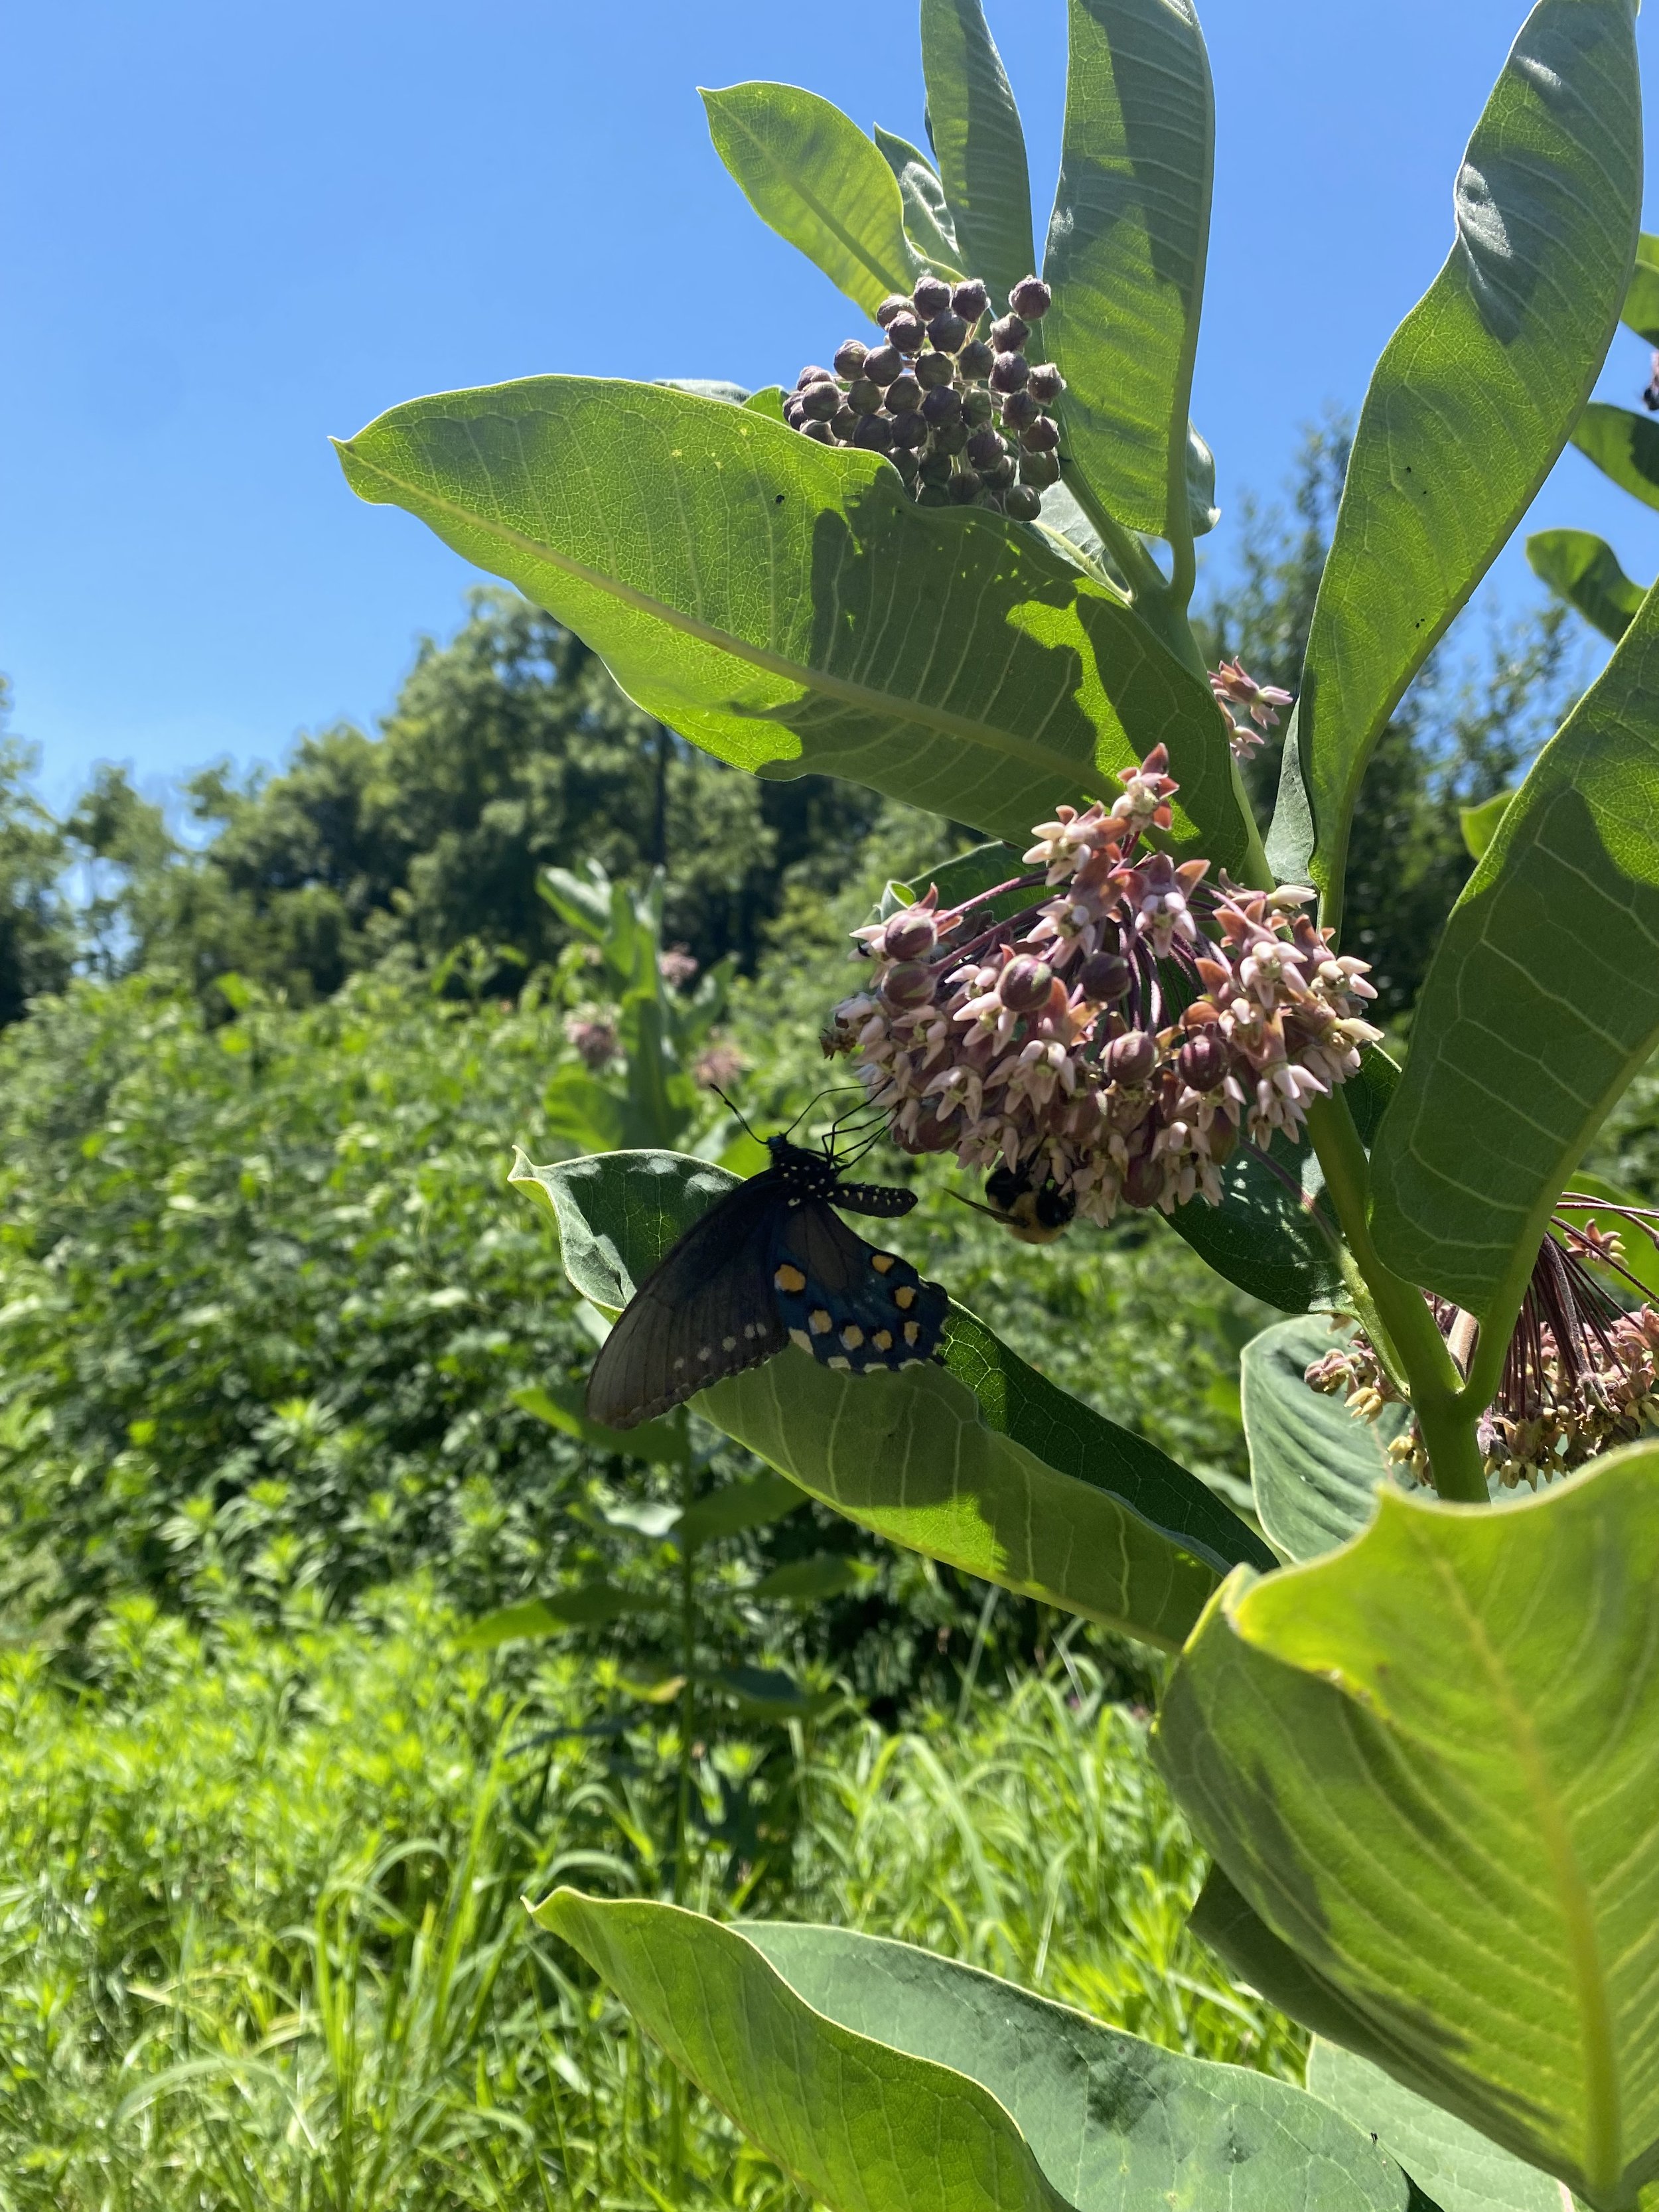
COMMON MILKWEEDThe Natural Lifecycle of Plants
In the fall when weather becomes colder, many plants begin to prepare for winter. Instead of using their energy to grow new leaves and flowers, they begin to prepare for dormancy and sometimes, their death. They produce seeds which will scatter in the wind and drop into the soil, eventually germinating and developing into full sized plants during the next growing season. The cycle then repeats again!
Planting Native Seeds
Many wildflower seeds native to the Midwest, like milkweed, have evolved to require exposure to low temperatures for a certain period of time before they will sprout. A hard coating on their outer shell protects the seed from breaking and germinating too early during winter when the cold temperatures would kill the young sprout.
This natural process - cold stratification - must be replicated if you want to plant certain native seeds in your garden. If you are preparing native seeds for spring planting, a few extra steps may be required to simulate winter and give your seeds the necessary exposure to cold. Check planting information for your flowers or plants to see if you need to cold-stratify your seeds. It’s a very simple process, so don’t be intimidated!

SHOP OUR ORGANIC COMMON MILKWEED SEEDSHow to Cold Stratify Seeds for Spring Sowing
You will need the following supplies to get started:
Seeds
Bowl, cup, or glass jar for soaking seeds
Water
Paper towels
Strainer
Ziploc bag
Permanent marker for labeling
Instructions:
THE PAPER TOWEL METHOD
Soak your seeds in water for 1-2 hours at room temperature.
Line a strainer with paper towels or a coffee filter then drain water from seeds.
Spread seeds in a single layer on a damp paper towel. Place another damp paper towel on top of the seeds then cover with a dry paper towel.
Place in a ziploc bag and seal. Label bag with seed variety and date.
Place in the refrigerator for at least 1 month. Find a spot in the back of the refrigerator or in a drawer for your seeds so the temperature doesn’t fluctuate as much when the door to the fridge is opened.
Periodically check on your seeds to make sure the paper towels are damp but not excessively wet which could cause mold.
SAND OR PEAT MOSS METHOD
You can also use sand or peat moss as your medium to cold stratify your seeds instead of using paper towels.
Place 1/4 cup of sand (or moss) into a mixing bowl and slowly add water 1 tbsp at a time until you can form the mixture into a ball.
Add desired amount of seed to sand and mix thoroughly.
Place the sand & seed mixture into a ziploc bag and seal.
Label the bag with seed variety and date.
Place in the refrigerator for at least 1 month. Find a spot in the back of the refrigerator or in a drawer for your seeds so the temperature doesn’t fluctuate as much when the door to the fridge is opened.
Periodically check on your seeds to make sure the mixture is moist but not excessively wet which could cause mold.
Planting Seeds After Cold Stratification
It’s usually recommended to leave seeds to cold stratify in the refrigerator for 4-10 weeks depending on plant variety. When the danger of frost in your area has passed, remove the seeds from the fridge and plant according to seed instructions in your garden.
If the seeds begin to sprout while in the refrigerator, remove them immediately and plant in your garden if there is no risk of frost or keep in pots indoors until planting conditions are more suitable.
Plant Seeds in Fall for a Natural Cold-Stratification
It’s a bit more simple (and successful) if you plant these seeds in late fall. Simply plant them in your garden bed or desired area at the appropriate depth. The seeds will undergo a natural cold stratification during winter and germinate the following spring after the last frost.
By Glory Forrest